How To Add Custom Domains For Tenants In Laravel Saas With Cloudflare
Published on October 3, 2026 by Dinesh Uprety

🌐 Custom Domains for Tenants in Laravel SaaS with Cloudflare
Think of your SaaS like an apartment building. You own the building (yourapp.com), and every tenant gets their own apartment (acme.yourapp.com). But premium tenants want their own front door with their own name on it — acmestore.com — while still living in your building, using your plumbing, your electricity, your everything.
That's exactly what we're building here: one Laravel app, one deployment, where each tenant can bring their own custom domain. Cloudflare handles the hard parts — DNS and SSL certificates — so you don't have to install a certificate every time a tenant signs up.
There are just three ideas to understand, and then it's all smooth sailing:
- Who's knocking? — Laravel looks at the domain in each request and figures out which tenant it belongs to.
- Prove it's yours — before a custom domain goes live, the tenant must prove they own it.
- Always have a spare key — every tenant keeps a fallback URL (
acme.yourapp.com) that works no matter what happens to their custom domain.
Let's walk through it like a story, step by step.
🧠 1. The Big Picture: How a Custom Domain Reaches Your App
Follow one visitor typing acmestore.com into their browser:
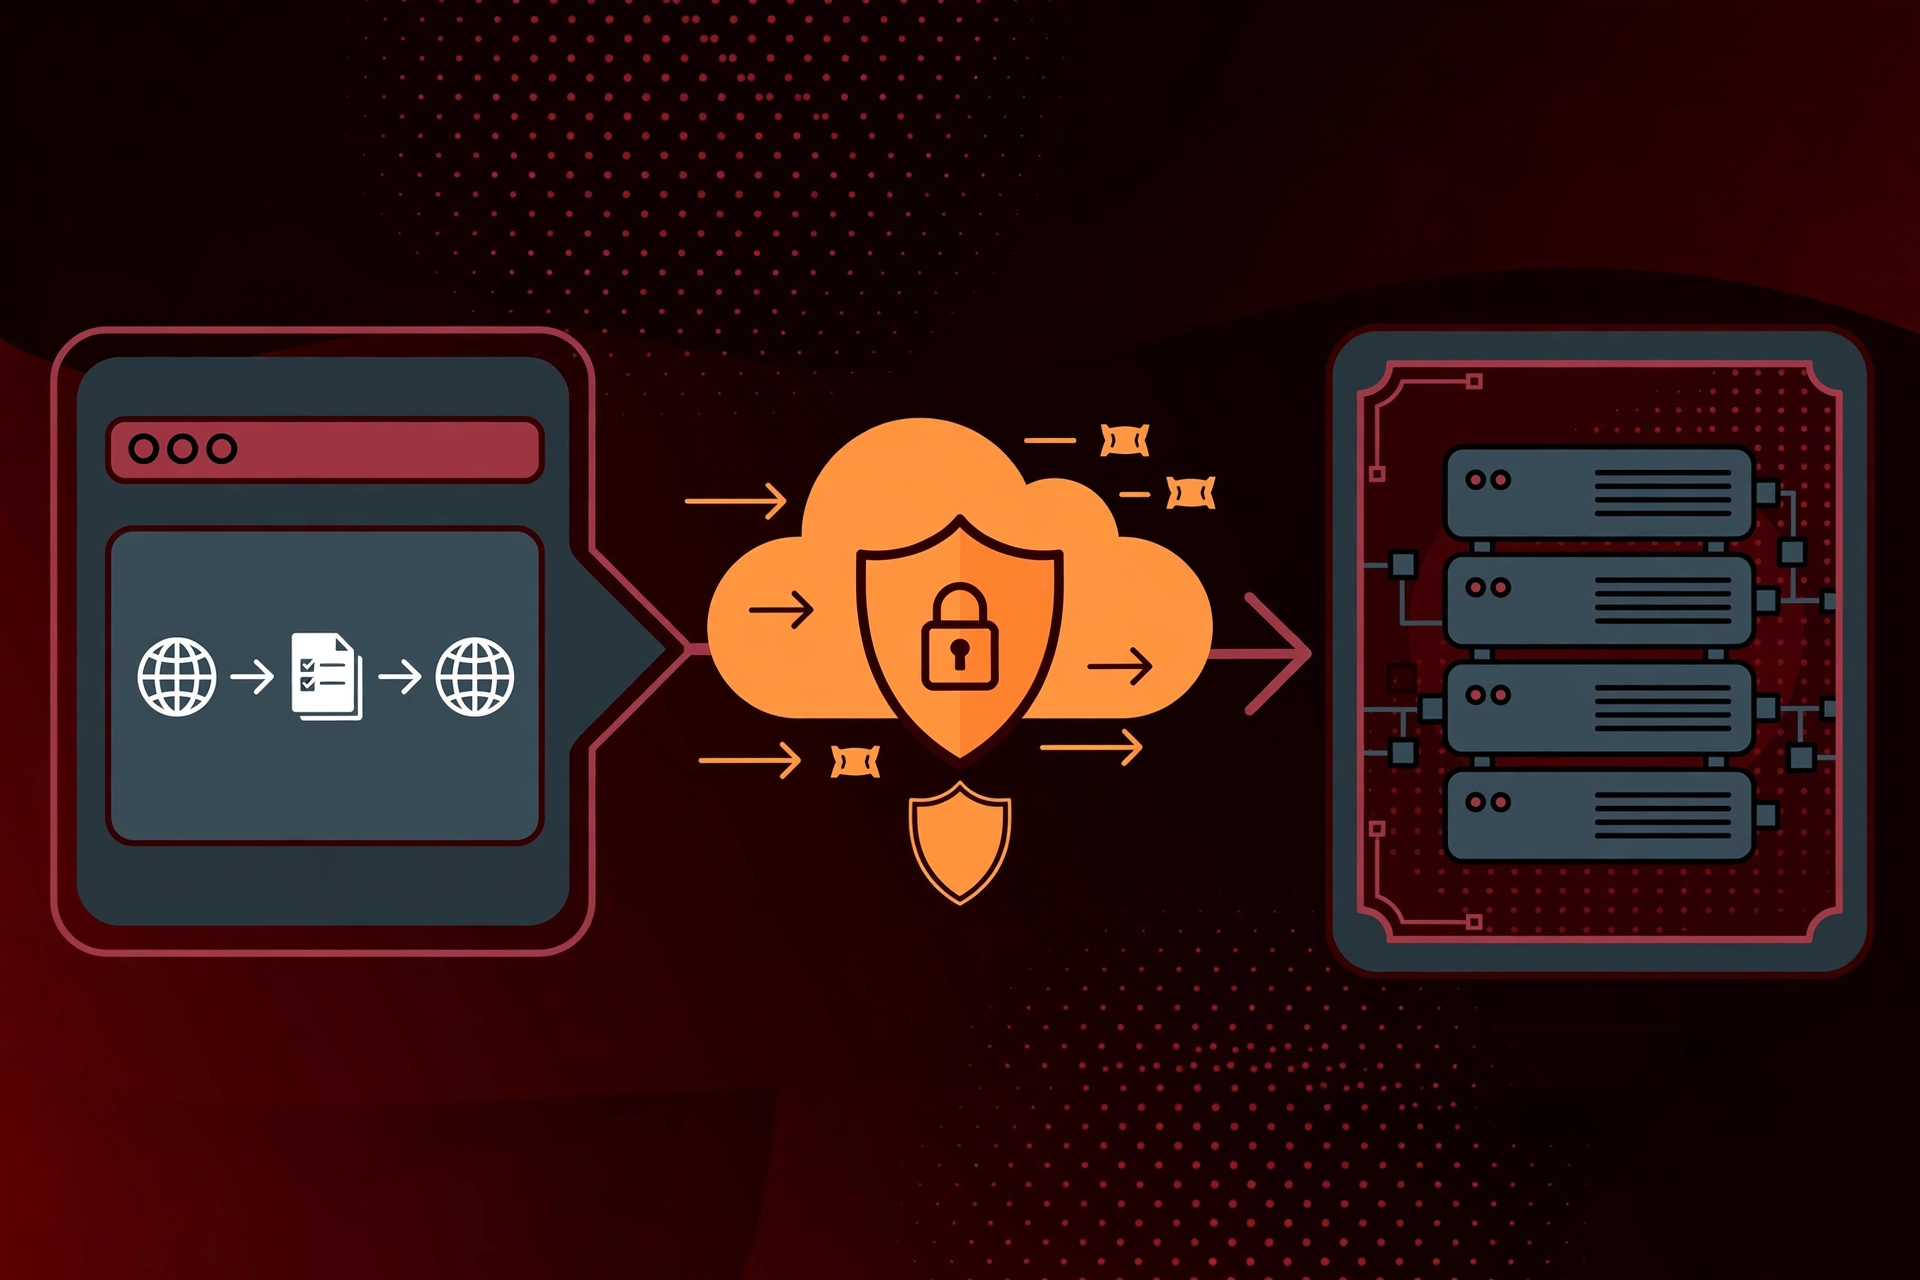
Visitor types acmestore.com │ ▼Cloudflare's edge (nearest city) • "Ah, acmestore.com belongs to yourapp.com's SaaS setup" • Serves the SSL certificate for acmestore.com (auto-issued!) • Filters bots and attacks │ ▼Your Laravel server • Reads the Host header: "acmestore.com" • Looks it up → "That's Acme Inc., tenant #42" • Serves Acme's dashboard, Acme's dataNotice the beautiful part: your server never deals with certificates for tenant domains. Cloudflare terminates the HTTPS connection at its edge, creates the certificate automatically, and renews it forever. Your Laravel app just asks one question: "which tenant owns this domain?"
🗄️ 2. Remember Each Tenant's Domain in the Database
Your tenants table needs two new columns — the custom domain, and a timestamp recording when it was verified:
Schema::table('tenants', function (Blueprint $table) { $table->string('slug')->unique(); // acme → acme.yourapp.com $table->string('domain')->nullable()->unique(); // acmestore.com (custom) $table->timestamp('domain_verified_at')->nullable();// proof of ownership done?});That domain_verified_at column is your safety lock. A domain only counts if it's verified — more on that in step 4.
Also tell your app what your own root domain is. Add it to .env:
APP_DOMAIN=yourapp.comAnd expose it through config/app.php (this is what config('app.domain') reads in the code below):
// config/app.php'domain' => env('APP_DOMAIN', 'yourapp.com'),🔍 3. "Who's Knocking?" — Find the Tenant from the Domain
Every request that hits your app carries a Host header — it's simply the domain the visitor typed. A small middleware reads it and finds the tenant:
<?php namespace App\Http\Middleware; use App\Models\Tenant;use Closure;use Illuminate\Http\Request; class IdentifyTenant{ public function handle(Request $request, Closure $next) { $host = $request->getHost(); // e.g. "acmestore.com" // First try: is this someone's verified custom domain? $tenant = Tenant::where('domain', $host) ->whereNotNull('domain_verified_at') ->first(); // Second try: the fallback URL, like acme.yourapp.com if (! $tenant && str_ends_with($host, config('app.domain'))) { $slug = str($host)->before('.'.config('app.domain')); $tenant = Tenant::where('slug', $slug)->first(); } // Nobody matches? This domain doesn't belong to any tenant. if (! $tenant) { abort(404, 'Workspace not found.'); } app()->instance('tenant', $tenant); return $next($request); }}Hook it into bootstrap/app.php — and while you're there, tell Laravel to trust Cloudflare sitting in front (otherwise visitor IPs and HTTPS detection break):
->withMiddleware(function (Middleware $middleware) { $middleware->append(IdentifyTenant::class); $middleware->trustProxies(at: '*');})The key security detail: an unverified domain never resolves to a tenant. If a stranger points evil.com at your server IP, they get a 404 — not someone else's dashboard.
✅ 4. "Prove It's Yours" — Verify Domain Ownership
This is the step you must never skip. Before acmestore.com starts serving Acme's data, Acme has to prove they actually own acmestore.com. Otherwise anyone could claim anyone's domain.
The industry-standard way is a DNS TXT record — a tiny note the tenant sticks on their domain that only the real owner could add. Here's how the conversation goes:
Your app says: "You want to use acmestore.com? Great — add this TXT record at your DNS provider, then press Verify:"
Type: TXTName: _saas-verifyValue: saas-verify=9f2c7a1b4e8d4f6aThat value is unique per tenant and domain, generated from your app key so nobody can guess it:
// App\Models\Tenantpublic function verificationToken(): string{ return hash('sha256', $this->id.'|'.$this->domain.'|'.config('app.key'));}The tenant goes to their DNS provider (Namecheap, GoDaddy, wherever), adds the TXT record, and clicks Verify in your app.
Your app then looks up the record, like checking someone's ID:
public function verify(Tenant $tenant){ $records = dns_get_record('_saas-verify.'.$tenant->domain, DNS_TXT); $expected = 'saas-verify='.$tenant->verificationToken(); foreach ($records as $record) { if (in_array($expected, (array) $record['txt'])) { $tenant->update(['domain_verified_at' => now()]); return back()->with('success', 'Domain verified! It will go live shortly.'); } } return back()->with('error', 'TXT record not found yet. DNS can take a few minutes to update.');}If the record matches → verified, the domain activates. If not → it stays dormant, and the tenant keeps using their fallback URL. Simple, secure, no emails back and forth.
🔁 5. "Always Have a Spare Key" — The Fallback URL
Here's a truth about custom domains: DNS takes time, tenants mistype records, certificates need minutes to issue. During all of that, the tenant still needs to work. That's why every tenant gets a permanent fallback URL from day one:
acme.yourapp.com ← works instantly, works foreveracmestore.com ← works once verified + connectedA tiny helper that always picks the right one:
function tenant_url(Tenant $tenant, string $path = '/'): string{ $host = $tenant->domain && $tenant->domain_verified_at ? $tenant->domain // custom domain, verified : $tenant->slug.'.'.config('app.domain'); // fallback URL return 'https://'.$host.$path;}Use it everywhere — login redirects, emails, notifications:
return redirect()->away(tenant_url($tenant, '/dashboard'));For the fallback URLs to resolve, add one wildcard DNS record on your domain:
| Type | Name | Content | Proxy |
|---|---|---|---|
| A | *.yourapp.com |
Your server IP | ✅ Proxied |
| A | yourapp.com |
Your server IP | ✅ Proxied |
One record, infinite tenant subdomains. That's the beauty of the wildcard.
☁️ 6. Cloudflare for SaaS: Certificates Without the Headache
Now the part that used to be painful. In the old days, every custom domain meant manually issuing and renewing an SSL certificate. With Cloudflare for SaaS, you set it up once and never think about certificates again.
Here's the idea in plain words: you tell Cloudflare, "I'm a SaaS — my customers will point their domains at me." Cloudflare then watches for those domains, and the moment one shows up, it automatically creates a valid HTTPS certificate for it and keeps it renewed forever. The first 100 custom hostnames are free.
One-time setup in your Cloudflare dashboard:
- Add your domain (
yourapp.com) to Cloudflare if you haven't already. - Go to SSL/TLS → Custom Hostnames and set a fallback origin — for example
origin.yourapp.compointing to your server's IP. Think of it as the reception desk: any tenant domain Cloudflare doesn't recognize yet gets sent here. - That's it for the dashboard. Now your code registers each verified domain with one API call:
Http::withToken(config('services.cloudflare.token')) ->post('https://api.cloudflare.com/client/v4/zones/'.config('services.cloudflare.zone_id').'/custom_hostnames', [ 'hostname' => $tenant->domain, 'ssl' => [ 'method' => 'http', // Cloudflare validates and issues the cert by itself 'type' => 'dv', ], ]);What the tenant does — just one DNS record at their provider (show this in your settings UI):
| Type | Name | Content |
|---|---|---|
| CNAME | www (or @) |
yourapp.com |
And that's genuinely it. The tenant points their domain at you, Cloudflare issues the certificate within minutes, and https://acmestore.com just works.
🧠 One DNS quirk to know: you can't put a CNAME on a bare apex domain (
acmestore.comwith nothing in front) at most DNS providers. Steer tenants towardwww.acmestore.complus a redirect — or let them use Cloudflare's CNAME flattening if their DNS supports it.
🔒 7. The Two Halves of HTTPS (SSL Modes, Simply Explained)
Every HTTPS request through Cloudflare has two legs: visitor → Cloudflare, and Cloudflare → your server. The SSL mode setting decides how the second leg is protected:
- Flexible — the first leg is encrypted, the second is plain HTTP. Looks secure in the browser, but data travels naked between Cloudflare and your server. Worse: if Laravel forces HTTPS, you get an infinite redirect loop. Avoid it.
- Full — both legs encrypted, but Cloudflare doesn't check whether your server's certificate is valid.
- Full (strict) ✅ — both legs encrypted, and Cloudflare verifies your server has a real, valid certificate. This is the one you want.
So: install a free Let's Encrypt certificate on your server once…
sudo certbot --nginx -d yourapp.com -d www.yourapp.com -d origin.yourapp.com…set Cloudflare to Full (strict), turn on Always Use HTTPS, and both legs of every tenant's journey are properly encrypted.
And inside Laravel, make sure generated URLs use HTTPS too (AppServiceProvider):
public function boot(): void{ if ($this->app->environment('production')) { URL::forceScheme('https'); }}⚠️ Seeing
ERR_TOO_MANY_REDIRECTS? It's almost always Flexible mode fighting with Laravel's HTTPS forcing. Switch to Full (strict) and the loop vanishes.
✅ 8. The Whole Journey, Start to Finish
Let's put the entire tenant story in one place:
- Tenant signs up → instantly gets
acme.yourapp.com(fallback URL — working from second one) - Tenant enters
acmestore.comin settings → status: pending, domain stored but inactive - App shows the TXT record → tenant adds it at their DNS provider
- Tenant clicks Verify → app checks DNS →
domain_verified_atis set ✅ - App registers the custom hostname with Cloudflare → certificate auto-issued
- Tenant adds the CNAME pointing to your domain →
https://acmestore.comgoes live 🎉 tenant_url()quietly starts returning the custom domain everywhere — emails, redirects, links
If anything breaks at steps 5–6, the tenant just keeps working on acme.yourapp.com. Nobody is ever locked out. That's the whole point of the fallback.
🎯 Final Thoughts
Custom domains sound intimidating, but the pattern is beautifully simple:
Resolve by domain → verify ownership → always keep the fallback working → let Cloudflare handle certificates.
The verification step is the security heart of the feature — treat it with respect. Everything else is friendly plumbing. Build it once, and every tenant gets their own front door on your building.
Questions about your own multi-tenant setup? Drop a comment below. 👇
Sources:

Senior Software Engineer • Writer @ Laranepal • PHP, Laravel, Livewire, TailwindCSS & VueJS • CEO @ Laranepal & Founder @ laracodesnap